Now Reading: How to Set Up Your New Gaming Monitor – A Step-by-Step Guide
-
01
How to Set Up Your New Gaming Monitor – A Step-by-Step Guide
Congratulations on your new gaming monitor ! Whether you’ve just picked up a high-performance model with 165Hz, FreeSync, or an immersive curved display, setting it up correctly will ensure you get the best possible experience from day one.
This step-by-step guide covers everything you need to know — from unboxing to optimizing your settings for gaming, streaming, and productivity .
🔧 Step 1: Unbox and Inspect Your Monitor
Before you start setting things up, make sure your monitor arrives undamaged:
- ✅ Check for any visible damage.
- ✅ Verify that all included components are present (stand, cables, user manual).
- ✅ If anything’s missing or broken, contact customer support immediately.
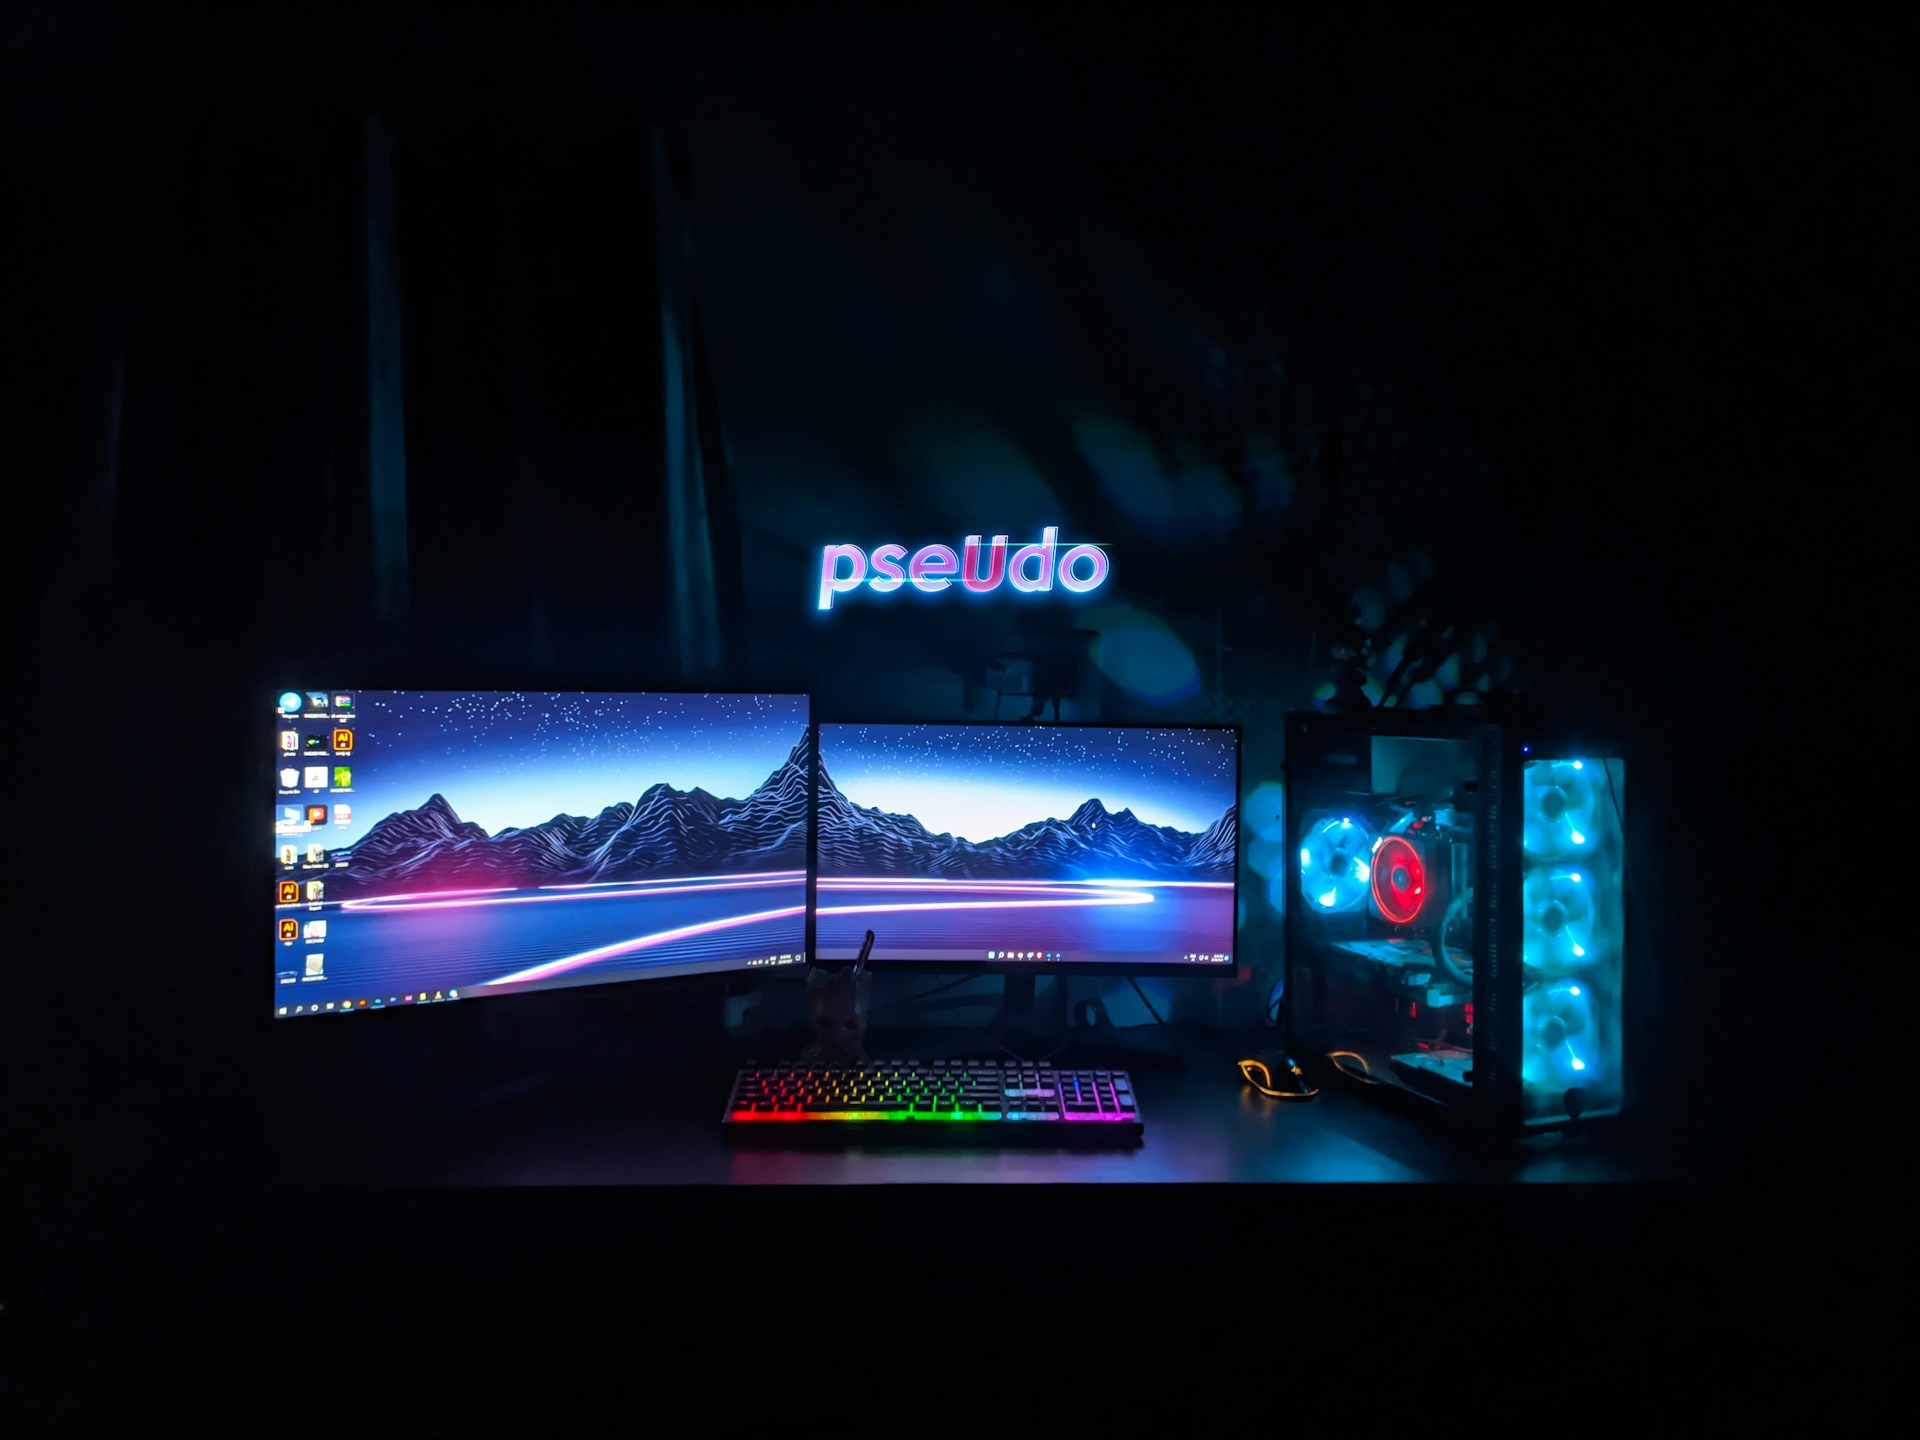
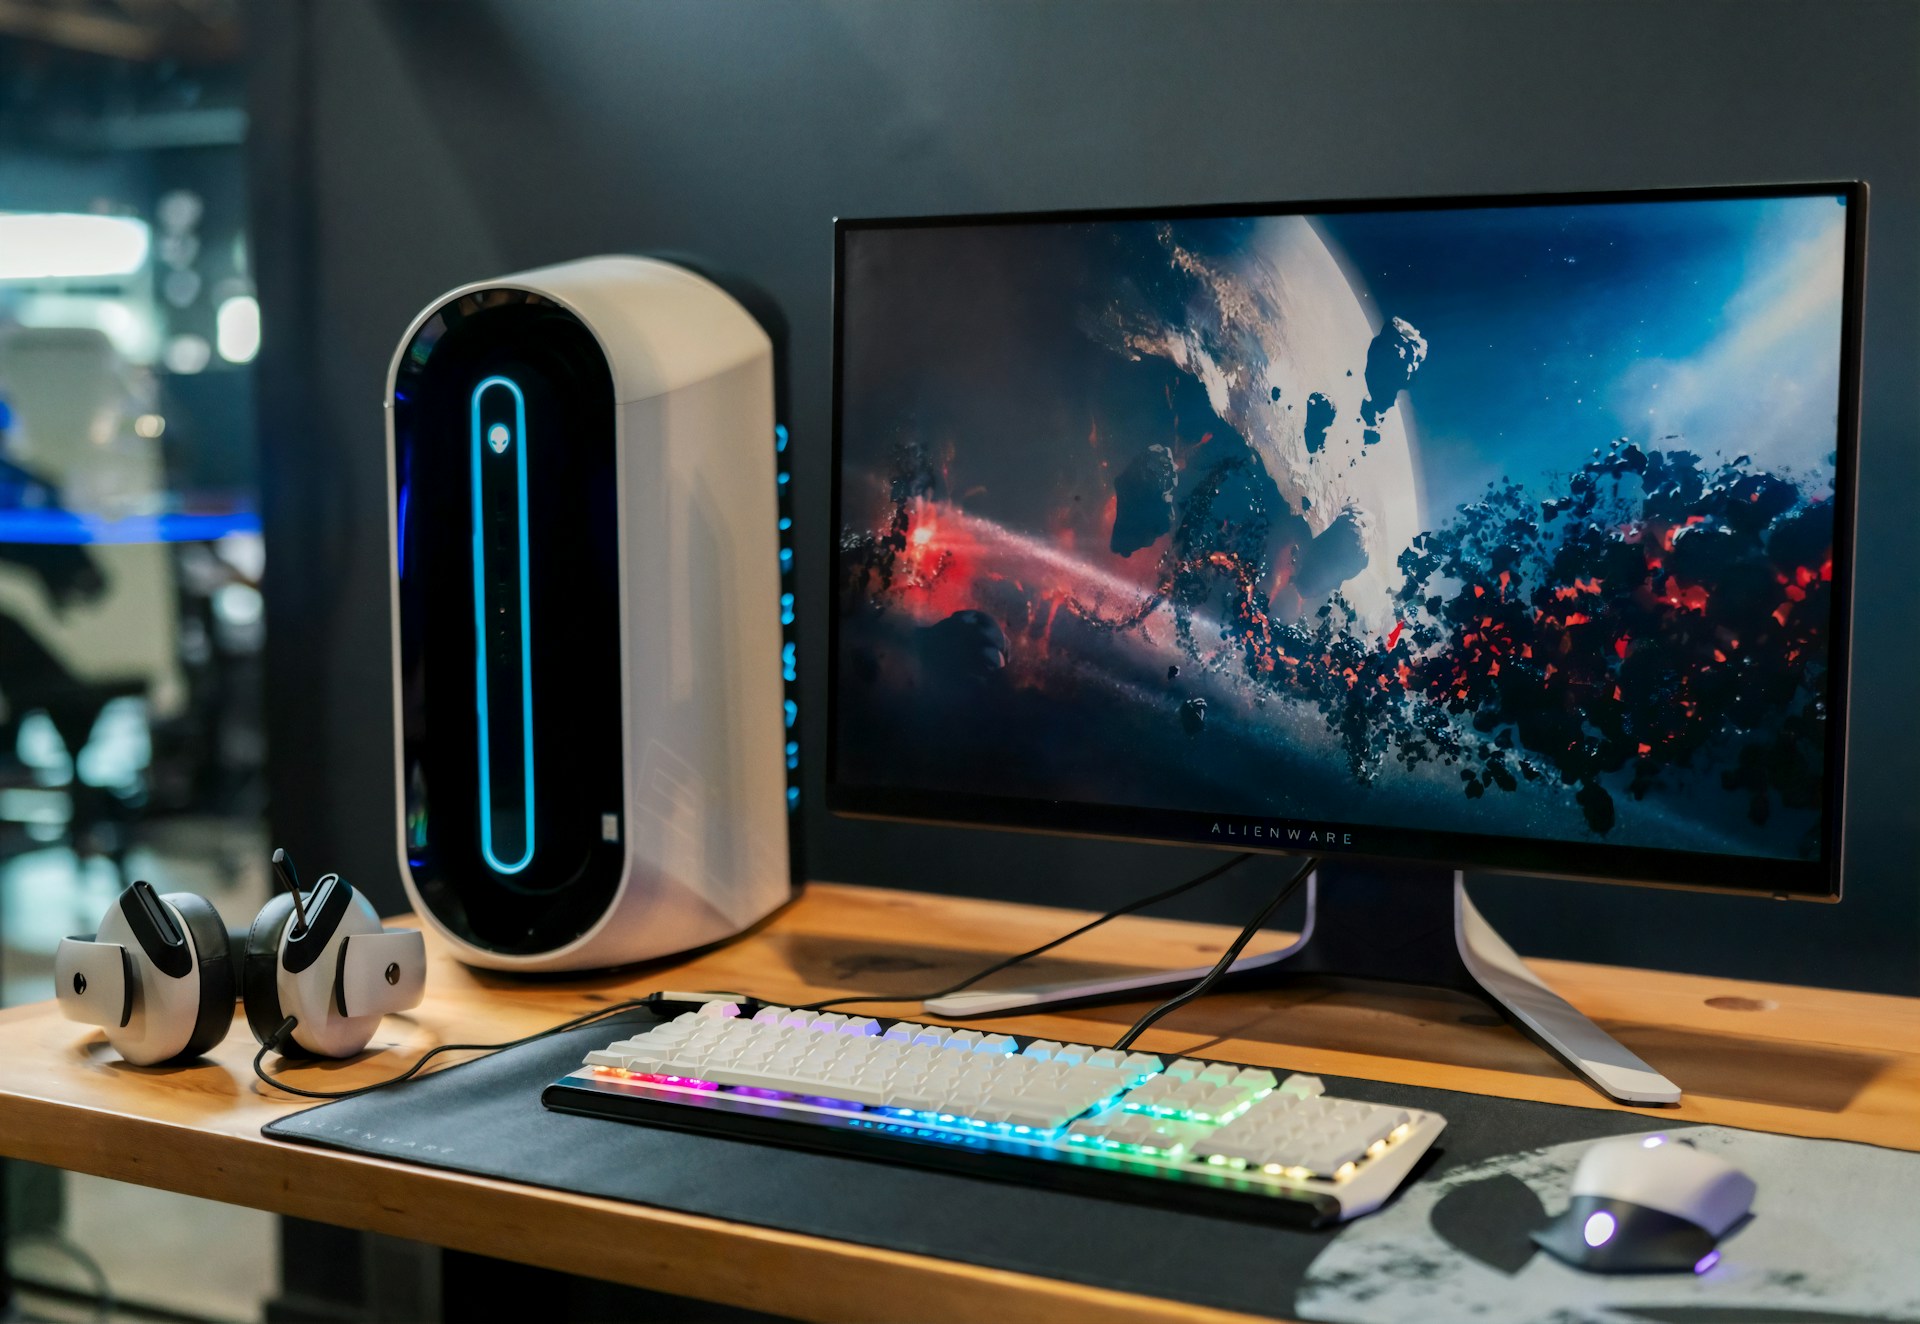
🔌 Step 2: Connect the Monitor to Your PC
Follow these steps to connect your new monitor:
🔹 Required Cables:
- HDMI or DisplayPort (most common)
- Optional: USB-C , DVI , or VGA (depending on your GPU)
🔹 Steps:
- Turn off your PC and monitor.
- Plug one end of the cable into the back of your graphics card.
- Plug the other end into the corresponding port on the monitor.
- Connect the power cable to the monitor and plug it into a wall outlet.
💡 Pro Tip: Use a surge protector if you’re concerned about electrical surges.
⚙️ Step 3: Adjust Display Settings
Once connected, turn on both your monitor and PC. Windows should detect the new display automatically.
🔹 Right-click on the desktop and select:
- Display settings
- Ensure your monitor is set as the main display
- Choose the correct resolution (e.g., 1920×1080 Full HD)
- Adjust refresh rate to match your monitor’s capabilities (e.g., 165Hz)
🎯 Step 4: Optimize for Gaming
To get the most out of your monitor while gaming:
🔹 Enable Adaptive Sync (FreeSync/G-SYNC):
- Go to NVIDIA Control Panel or AMD Radeon Software
- Look for “Enable G-SYNC” or “FreeSync”
- Make sure it’s enabled for your monitor model
🔹 Lower Input Lag:
- In your monitor menu, enable options like “Game Mode” or “Low Input Lag”
- Disable unnecessary effects like motion blur or color enhancement
🖥️ Step 5: Positioning & Ergonomics
A good setup isn’t just about performance — it’s also about comfort.
🔹 Tips:
- Place the monitor at eye level so the top of the screen is at or slightly below eye level.
- Sit arm’s length away from the monitor.
- Use a gaming chair for long sessions.
- Consider a monitor stand for height adjustment.
📊 Step 6: Test Performance
Run a few games or benchmarks to test how your monitor performs:
- Try 3DMark or Unigine Heaven for benchmarking
- Play a game like CS:GO , Valorant , or Apex Legends to test responsiveness
- Watch for screen tearing, ghosting, or lag
If you notice issues, double-check:
- Your cable type (DisplayPort usually offers better performance)
- Your GPU drivers (update them regularly)
- Your monitor firmware (check manufacturer site)
🧰 Step 7: Customize Your Experience
Most modern gaming monitors come with on-screen menus for customization:
- Adjust brightness , contrast , and color temperature
- Use pre-set modes for FPS, RPG, or movie watching
- Enable RGB lighting if your model supports it
🔄 Step 8: Maintain and Clean
Keep your monitor in top shape:
- Use a microfiber cloth to clean the screen
- Avoid using harsh chemicals or paper towels
- Dust the vents and ports regularly
- Don’t let the screen stay on for extended periods without rest
🧾 Final Thoughts
Setting up your new gaming monitor is a breeze when you follow this guide. From connecting your hardware to optimizing for performance and comfort, you’re now ready to dive into your favorite games with the best visual experience possible.
Whether you’re playing competitive titles or relaxing with a story-driven RPG, your new monitor is now fully optimized for success.
Playerxperience is run by a team of regular players who write about the stuff that actually matters — games, gear, news, and setup tips. We’re not experts or critics — just real people who love gaming and sharing what we learn along the way. No fluff. No fake hype. Just honest content for players, by players.
Review
Previous Post
Next Post


Advertisement